
Charmed MySQL
- By Canonical Data Platform
- Cloud
| Channel | Revision | Published | Runs on |
|---|---|---|---|
| 8.0/stable | 196 | 29 Sep 2023 | |
| 8.0/candidate | 203 | 14 Dec 2023 | |
| 8.0/beta | 216 | 18 Mar 2024 | |
| 8.0/edge | 227 | Yesterday |
juju deploy mysql --channel 8.0/edge
Deploy universal operators easily with Juju, the Universal Operator Lifecycle Manager.
Platform:
How to deploy on MAAS
This guide aims to provide a quick start to deploying Charmed MySQL on MAAS. It summarizes the instructions from the Build a MAAS and LXD environment with Multipass Tutorial to set up and tear down a playground environment.
If you want to deploy MySQL on MAAS in a production environment, refer to the official Bootstrap MAAS Tutorial followed by the Charmed MySQL Tutorial.
Summary
- Bootstrap a Multipass VM
- Configure MAAS
- Register MAAS with Juju
- Deploy Charmed MySQL on MAAS
- Test Charmed MySQL deployment
- Clean up the environment
For further details and explanation about each step, remember you can refer to the original tutorial.
Bootstrap a Multipass VM
Install Multipass and launch a VM:
sudo snap install multipass

wget -qO- https://raw.githubusercontent.com/canonical/maas-multipass/main/maas.yml \
 | multipass launch --name maas -c8 -m12GB -d50GB --cloud-init -
The wget command provides a cloud-init file that will set up the VM’s LXD and MAAS environment.
Configure MAAS
1. Find your MAAS IP with
multipass list
2. Open http://<MAAS_IP>:5240/MAAS/ and log in with the default credentials: username=admin, password=admin.
3. Complete the additional MAAS configuration in the welcome screen.
4. Wait for image downloads to complete on http://:5240/MAAS/r/images
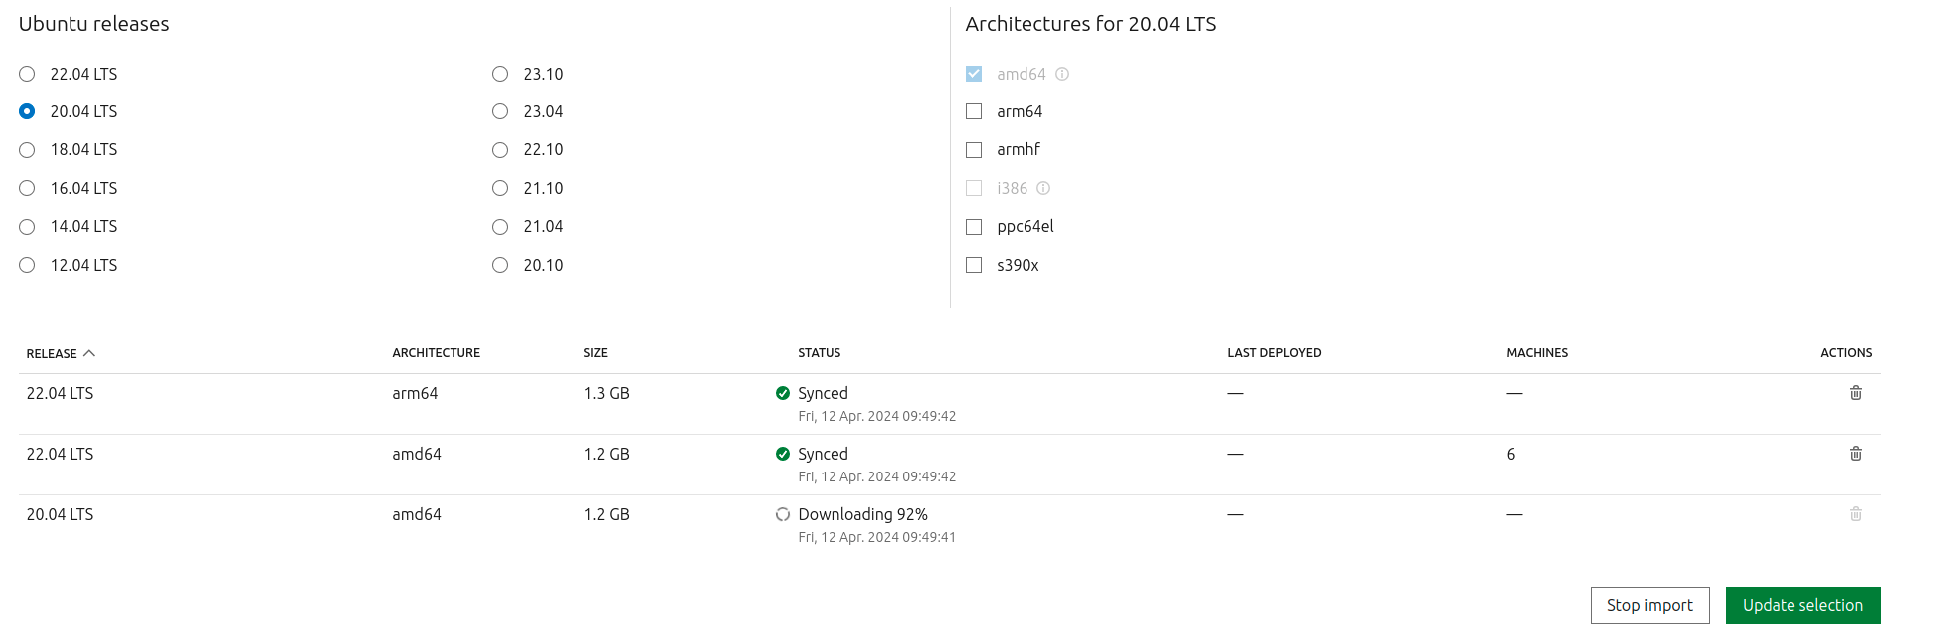
Make sure you are downloading 22.04 images as well (20.04 is the current default).
The LXD machine will be up and running after the images downloading and sync is completed.
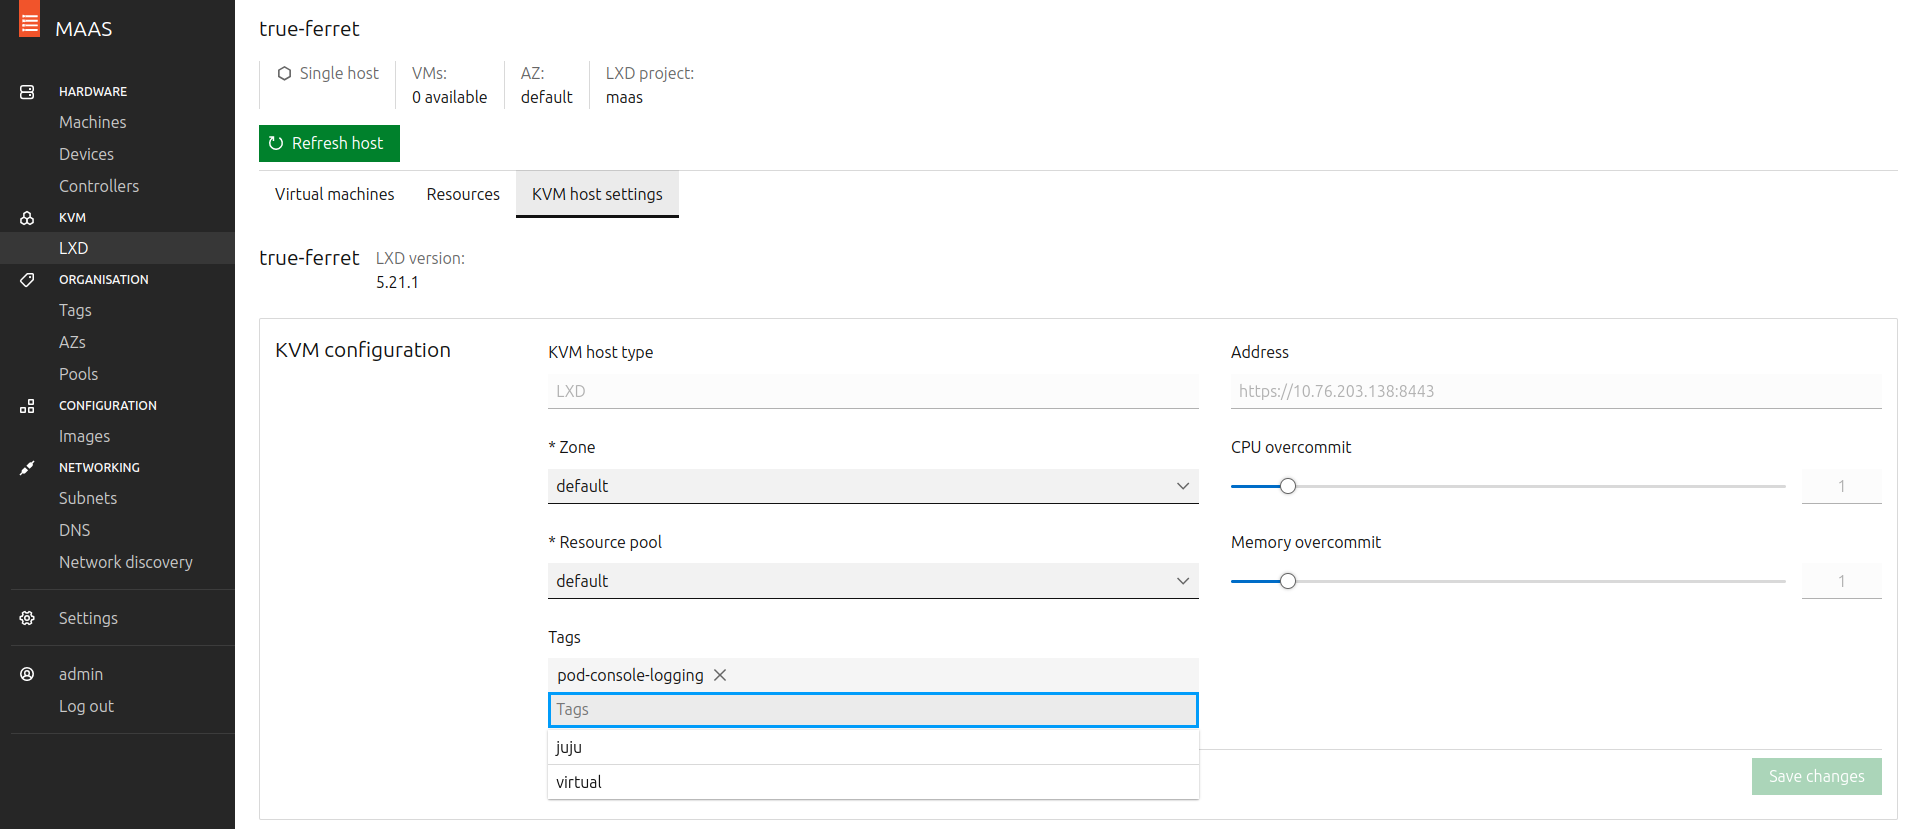
5. Navigate to http://:5240/MAAS/r/tags and create a tag with tag-name=juju. Assign it to the LXD machine.
A note on DHCP
MAAS uses DHCP to boot and install new machines. You must enable DHCP manually if you see this banner on MAAS pages:
Make sure to enable DHCP service inside the MAAS VM only.
Use the internal VM network
fabric-1on10.10.10.0/24and choose a range (e.g.10.10.10.100-10.10.10.120). Check the official MAAS manual for more information about enabling DHCP.
6. Finally, dump MAAS admin user API key to add as Juju credentials later:
sudo maas apikey --username admin
Register MAAS with Juju
1. Enter the Multipass shell and install juju:
multipass shell maas
sudo snap install juju
2. Add MAAS cloud and credentials into juju.
These commands are interactive, so the following code block shows the commands followed by a sample output. Make sure to enter your own information when prompted by juju.
juju add-cloud

> Since Juju 2 is being run for the first time, downloading latest cloud information. Fetching latest public cloud list... Your list of public clouds is up to date, see `juju clouds`. Cloud Types
>    maas
>    manual
>    openstack
>    oracle
>    vsphere
>
> Select cloud type: maas
> Enter a name for your maas cloud: maas-cloud
> Enter the API endpoint url: http://<MAAS_IP>:5240/MAAS
> Cloud "maas-cloud"
juju add-credential maas-cloud

> ...
> Enter credential name: maas-credentials
>
> Regions
>   default
> Select region [any region, credential is not region specific]: default
> ...
> Using auth-type "oauth1".
> Enter maas-oauth: $(paste the MAAS Keys copied from the output above or from http://YOUR_MAAS_IP:5240/MAAS/r/account/prefs/api-keys )
> Credential "maas-credentials" added locally for cloud "maas-cloud".
3. Bootstrap Juju.
Add the flags --credential if you registered several MAAS credentials, and --debug if you want to see bootstrap details:
juju bootstrap --constraints tags=juju maas-cloud maas-controller
Deploy Charmed MySQL on MAAS
juju add-model mysql
juju deploy mysql --channel 8.0/stable
Test your Charmed MySQL deployment
Check the Testing reference to test your deployment.
Clean up the environment
To stop your VM, run:multipass stop maas
If you’re done with testing and would like to free up resources on your machine, you can remove the VM entirely.
Warning: When you remove the VM as shown below, you will lose all the data in MySQL and any other applications inside it!
For more information, see the docs for multipass delete.
To completely delete your VM and all its data, run:
multipass delete --purge maas